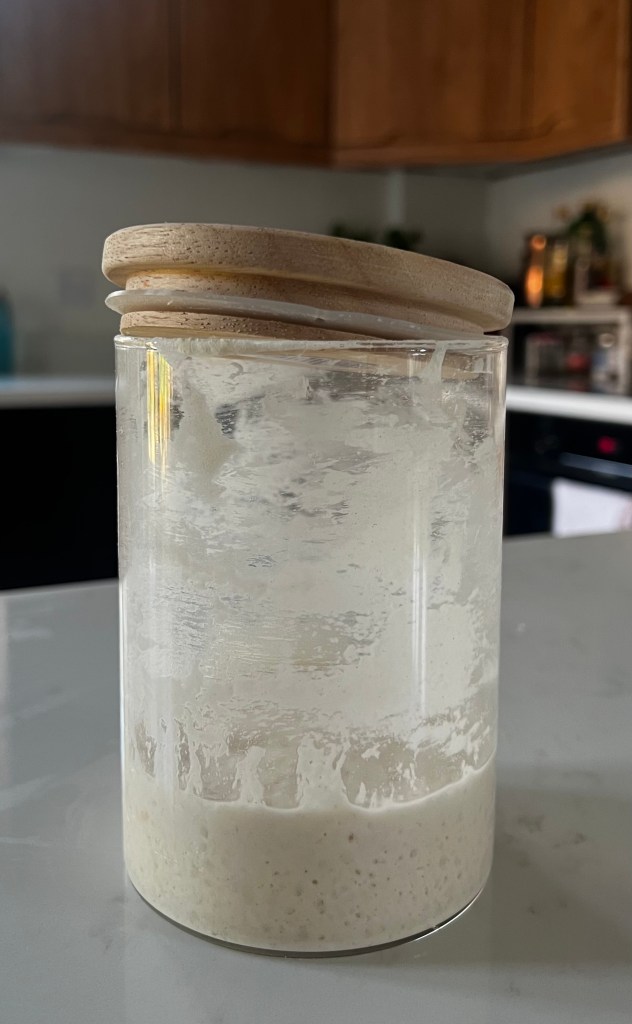
This isn’t a post about how to create your own sourdough starter, but a post about how to look after your starter and how to bake a loaf from it. Firstly, I’m delighted to introduce you to my starter Doughlene – she’s the daughter of a starter named Doughbi-Wan Kenobi, and I’ve had her since July during which time she’s made at least two loaves a week. Keeping a starter alive means discarding about half of it daily and feeding it up to produce a loaf, and takes a teeny tiny bit of maths (but I promise its not difficult). The next paragraph explains how to do that, and below you’ll find the recipe I use to make a loaf or 8 rolls. I was always a bit daunted by the prospect of keeping a needy starter alive but actually its no way near as tricky as I originally thought. And wowzers she produces a delicious loaf 🙂
Feeding your sourdough
First of all, don’t be afraid to leave your sourdough alone in the fridge for a fortnight, it’ll be fine. However if you’re in bread-making mode, here’s what you need to do each day.
The key is to know how much your empty pot weighs so you won’t need to decant your starter every day because that’ll mean more washing up and no-one wants that. What you’re aiming to do is halve the amount of starter in the pot, then feed it with flour and water on a 1:1:1 basis.
Each morning I weigh my lidless starter jar and subtract the weight of the empty pot – that gives me the weight of my starter. I divide that number by two (that’s how much starter I want to keep) then I add back the empty pot weight so I know what I’m aiming for, then I scrape out and throw away enough starter to get down to that number. Do that and you’ve successfully halved the amount of starter you have.
Then, add in strong bread flour to match the weight of starter that you’ve kept, plus the same weight of water, and give it all a good mix. In a few hours time your starter should bubble up and at least double in height before receding again to let you know it’s hungry once more.
For example my pot weighs 190g without it’s lid, and this morning the pot plus starter weighed 340g. This means that Doughlene weighs (340-190) 150g. I want to keep half of her (75g) so I want the total to be (190+75) 265g, so I scraped out starter until I reached that number. Then I added in 75g strong flour and 75g water and gave her a good mix, popped the lid back on loosely and left her alone to grow and bubble up.
On then to making a loaf. Timing wise, I start this process early in the evening before I want to bake a loaf because it needs a loooooong overnight proof and another long proof in the morning. Overall there’s very little work to be done, but you need to be around all evening for the Stretch and Folds (which obviously makes me think of Elle Woods’ Bend and Snap because of course it does).
Ingredients
150g starter
10g salt
25g olive oil
250ml warm water
500g strong bread flour
Method
- Scrape your starter into a large bowl, then add in the salt, olive oil, and water, and mix well with a fork.
- Pour in the flour and mix to combine – eventually you’ll need to give up on the fork and use your hand to form a pretty cohesive ball of dough but it doesn’t need to be perfect in any way and can look pretty ragged.
- Cover the bowl with a damp tea towel and leave it somewhere warm for half an hour.
- It’s time to start the stretch and foldathon whereby you grab an edge of your dough, stretch it out, fold it over, and turn the bowl a bit. Keep going until the dough won’t stretch any more, then cover and leave it for another half an hour. Repeat repeat repeat at least 4 times until you have a nice smooth dough or you’ve decided to go to bed.
- In the morning the dough should have at least doubled in size, preferably tripled.
- Grab a cast iron pot with a lid (a dutch oven), put in a piece of baking paper leaving some hanging out at the top.
- Tip out your dough onto a lightly floured surface and form into a ball by folding it in on itself then flipping it over so the top is nice and smooth. Pop it into the pot, cover, and leave somewhere warm again until at least doubled in size. For me this takes a good couple of hours.
- Heat your oven to as hot as it will go.
- When your oven is hot, slash the top of your dough to allow for expansion in the oven, pop the lid back on, put it in the oven and turn your oven down to 200C.
- Bake for 30 mins, remove the lid, bake for another 15 mins.
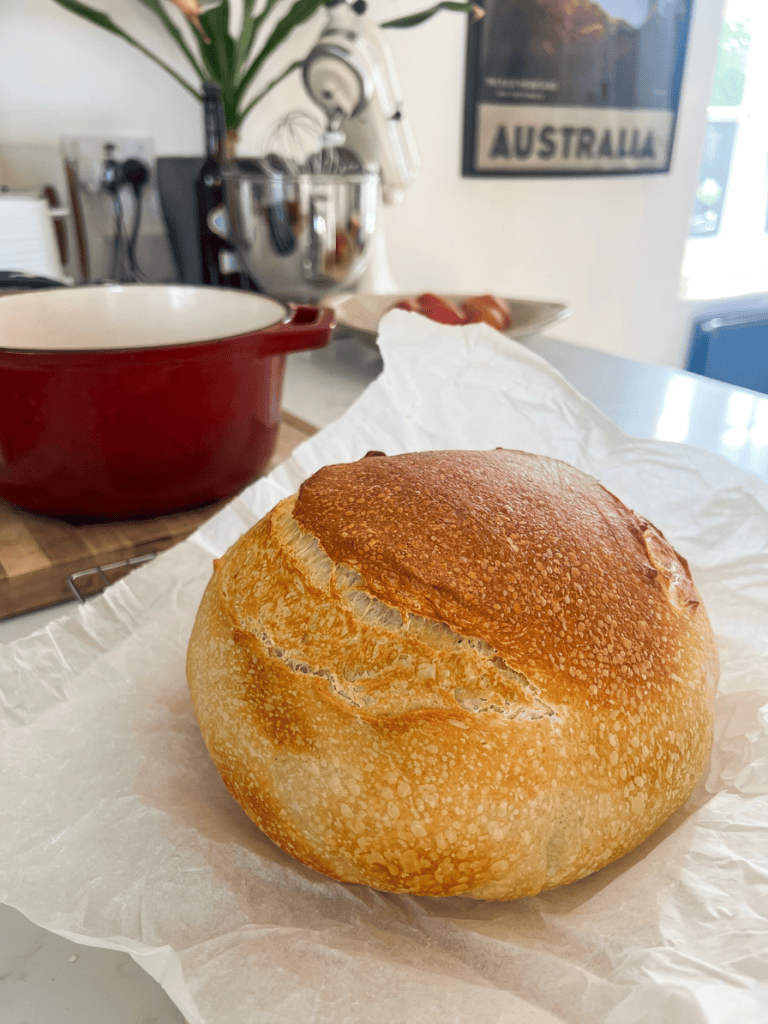
- Remove from the oven, lift the bread out using the overhanging paper, wrap it in a clean tea-towel and leave to cool completely before trying to slice it or you’ll just make a mess.
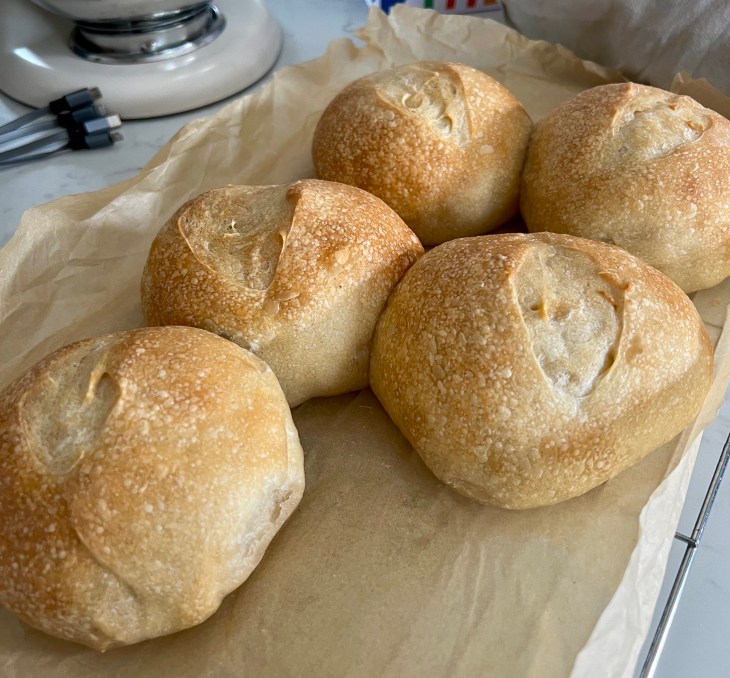
NB: if you’d like to make rolls, from step 6 you’ll need a large baking tin and some tin foil to cover it, then divide your dough into 8 equal lumps, folding the dough into itself to make balls, then cover and leave for its second proof. Bake for 15 mins covered, and 15 mins uncovered at 200C. They freeze really well and defrost in the microwave quicky – hey presto warm bread rolls!