Ever wondered what a) the fuss is all about with red velvet cakes or b) how the redness can possibly make a difference to the taste or overall enjoyment of the cake? Well, here are your answers – it’s a delicious moist cake that my family love, the redness doesn’t improve the taste at all, but what it does do is make me utterly worried that I’ll stain my kitchen forever with red food colouring paste, so after trying it once, I just don’t use it. I also find eating something that abnormally red a little off-putting, and makes me wonder what on earth is in the food colouring to make it quite so vivid? Actually I don’t think I want to know. This recipe is from The Hummingbird Bakery in London and is currently the cake of choice in our house, it’s YUMMY. (I’ll leave a note at the end of the recipe for what to do should you actually want a red cake).
Ingredients
Cake:
120g soft unsalted butter
300g caster sugar
2 large eggs
1 tsp vanilla extract
20g cocoa powder
300g plain flour
240ml buttermilk
1 tsp bicarbonate of soda
1 tsp free flowing salt
3 tsp vinegar
2 tbsp milk (maybe, it depends)
Icing:
100g soft unsalted butter
600g icing sugar
250g full fat soft cheese
Freeze dried strawberry pieces / decorations of choice
Method – cake
- Heat oven to 160C fan, grease and line two 22cm cake tins.
- Beat together the butter and sugar using a handheld whisk or free-standing mixer (or a wooden spoon if you’re feeling reeeeeallly strong), until they’re light and fluffy.
- Beat in the eggs one at a time, followed by the vanilla extract.
- Next, pour in half of the buttermilk, beat well, then half of the flour and cocoa powder, beat well, and repeat with the second half of both.
- Add in the salt, bicarb, and vinegar and give it a final beating until smooth. The mix should drop off your spoon pretty easily, so if it feels too thick add a tablespoon or two of milk and mix again.
- Divide equally between the two tins and bake in the middle of the oven for 25 minutes – the sponges should rebound to a light touch and a skewer inserted into the centre should be free from crumbs or sticky cake mix.
- Leave the cakes in their tins to cool for 10 minutes, then gently turn them out onto a wire rack to cool completely.
Method – icing
- In a large bowl, beat the butter until really soft, then sift in the icing sugar and (slowly at first or you’ll disappear in a cloud of sugar) beat the two together. It will stay crumbly due to the ratio of sugar to butter, and will resemble sand.
- Beat in the cream cheese, and keep beating until light and fluffy.
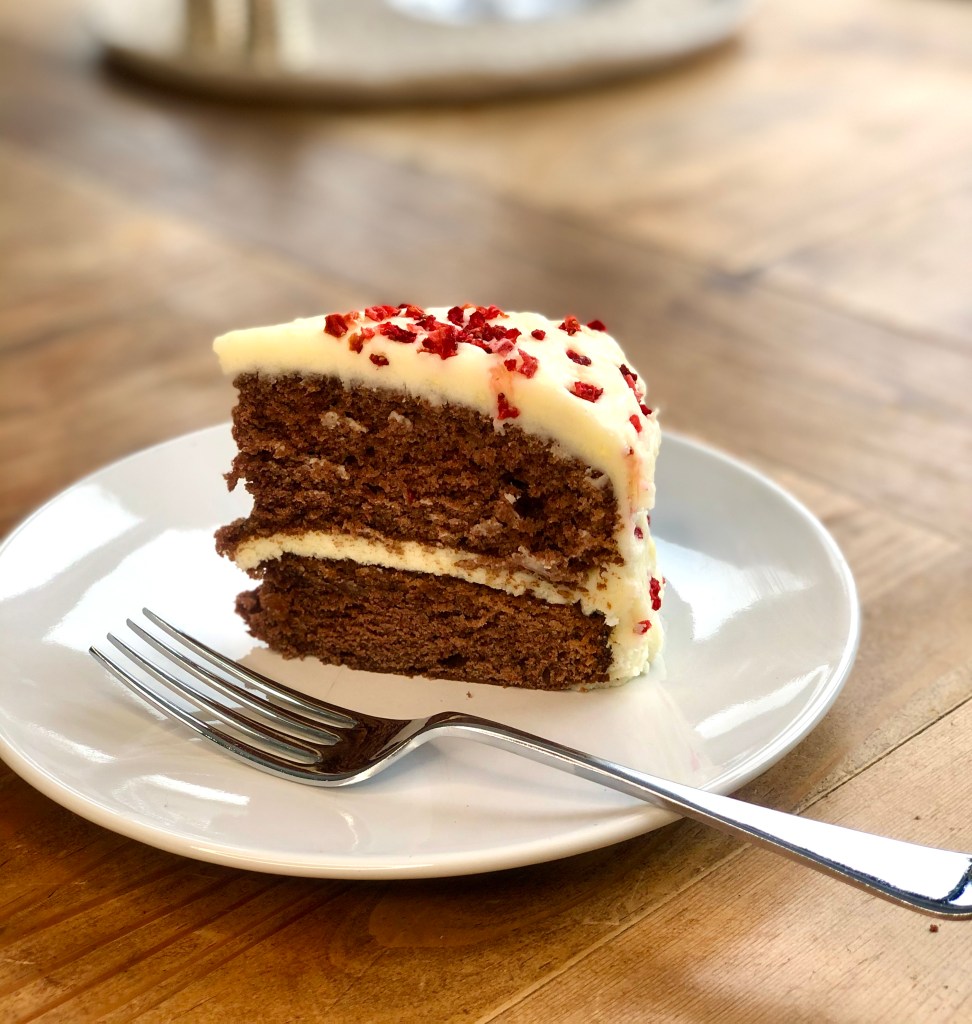
- When the sponges are cool, pop a small blob of icing in the middle of your serving plate and place one sponge on top upside down, flat side up (that’ll stop it from sliding around). Smooth over around a third of the icing.
- Put the second sponge on top, right side up, then dollop the rest of the icing on the top, using a palette knife to gently ease it down the sides until the entire cake is covered.
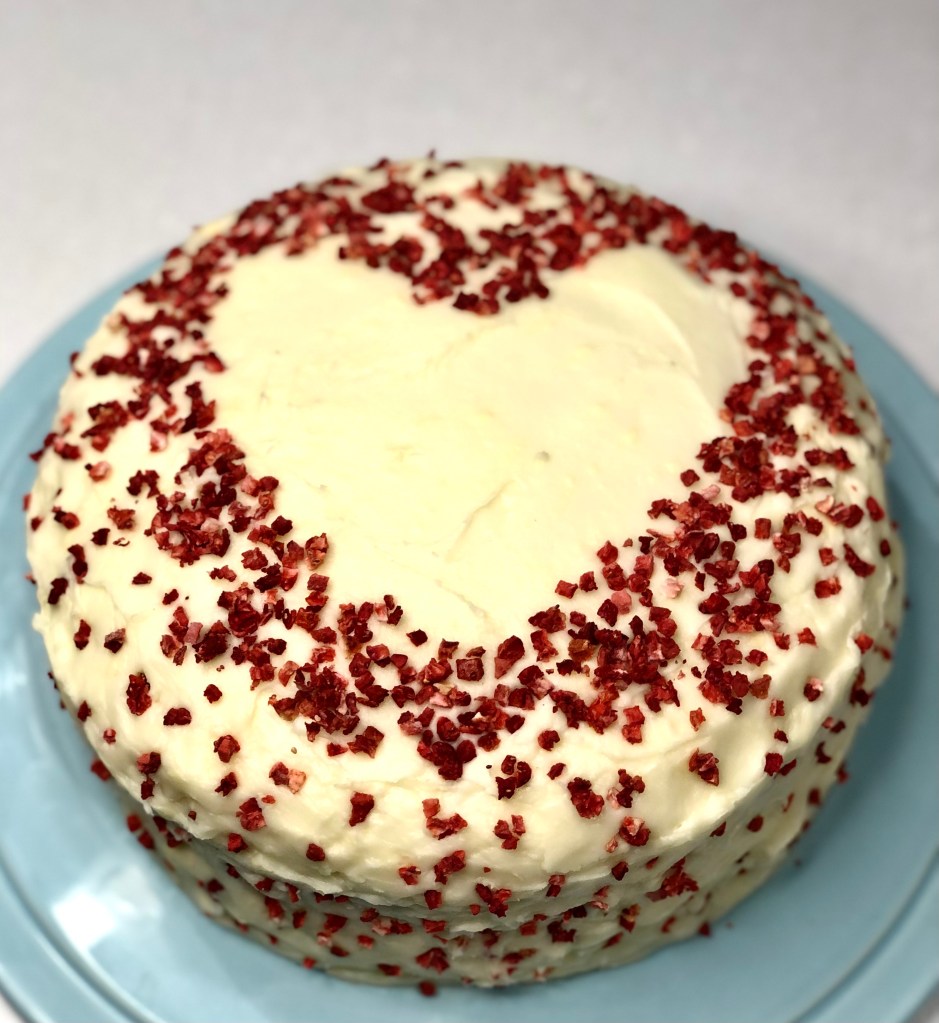
- Decorate as you see fit – I used freeze dried strawberry pieces to create this Valentines Day special, because it is February after all ❤️
Note: If you do actually want to make a Red Velvet cake, mix 2 tablespoons of red food colouring paste into the mix when you beat in the eggs. Normal food colouring liquids just won’t cut the mustard – to get actual red you need a paste. I used Sugarflair Red Extra paste, and boy oh boy did it make a red cake, but as I mentioned at the top, it doesn’t really float my boat.